Accessing your Raspberry Pi remotely from anywhere using Windows 10 is a powerful way to manage your projects, monitor devices, or control servers without physical presence. Whether you're a developer, hobbyist, or professional, this guide will walk you through every step required to set up remote access securely and efficiently. By the end of this article, you'll have the knowledge and tools necessary to connect to your Raspberry Pi from any location.
Remote access to Raspberry Pi is a critical feature for users who need flexibility and convenience in managing their systems. Whether you're setting up a home automation system, running a web server, or monitoring IoT devices, having the ability to access Raspberry Pi from anywhere on Windows 10 can significantly enhance productivity. This article will explore various methods to achieve this, ensuring your connection is secure and reliable.
In today's interconnected world, remote access is no longer a luxury but a necessity. With the rise of cloud computing and IoT, the demand for seamless remote connectivity has surged. This guide focuses on providing practical, step-by-step instructions and insights to help you harness the full potential of Raspberry Pi's remote capabilities. Let's dive in!
Read also:Todd Russaw A Comprehensive Guide To His Life Achievements And Influence
Table of Contents
- Introduction to Raspberry Pi
- Why Remote Access Matters
- Methods to Access Raspberry Pi
- Step-by-Step Guide
- Using SSH for Remote Access
- Setting Up Port Forwarding
- Using VPN for Security
- Troubleshooting Common Issues
- Best Practices for Security
- Conclusion and Next Steps
Introduction to Raspberry Pi
The Raspberry Pi is a small, affordable, and versatile single-board computer that has revolutionized the way people interact with technology. Initially designed for educational purposes, it has since become a favorite among hobbyists, developers, and professionals alike. Its compact size and low power consumption make it ideal for a wide range of applications, from media centers to robotics.
Key Features of Raspberry Pi:
- Compact and lightweight design
- Supports multiple operating systems, including Raspbian, Ubuntu, and others
- Rich community support and extensive documentation
- Compatibility with various hardware accessories
Understanding the basics of Raspberry Pi is crucial before diving into remote access. This section provides an overview of its capabilities and why it's a popular choice for remote computing.
Why Remote Access Matters
Remote access to Raspberry Pi offers numerous benefits, especially in scenarios where physical proximity is not feasible. Whether you're managing a server, monitoring sensors, or controlling smart home devices, remote access simplifies operations and enhances efficiency.
Benefits of Remote Access:
- Increased flexibility in managing projects
- Reduced downtime due to quicker troubleshooting
- Cost-effective solution for remote monitoring
- Improved collaboration across teams
For Windows 10 users, accessing Raspberry Pi remotely opens up new possibilities, allowing seamless integration with existing workflows and tools.
Read also:Mastering Trombone Slang A Comprehensive Guide To Jazz Jargon And Musical Lingo
Methods to Access Raspberry Pi
There are several methods to access Raspberry Pi from anywhere using Windows 10. Each method has its own advantages and limitations, depending on your specific needs and setup.
1. Using SSH (Secure Shell)
SSH is one of the most popular and secure methods for remote access. It allows users to connect to Raspberry Pi via a terminal interface, enabling command-line operations.
2. VNC (Virtual Network Computing)
VNC provides a graphical interface for remote access, allowing users to interact with Raspberry Pi as if they were sitting in front of it.
3. Web-Based Solutions
Some services offer web-based interfaces for managing Raspberry Pi, eliminating the need for additional software installations.
Choosing the right method depends on factors such as security requirements, ease of use, and specific tasks you wish to perform.
Step-by-Step Guide
Setting up remote access to Raspberry Pi involves several steps, from enabling SSH to configuring port forwarding. Below is a comprehensive guide to help you through the process.
1. Enable SSH on Raspberry Pi
To enable SSH on your Raspberry Pi, follow these steps:
- Open the Raspberry Pi Configuration tool
- Navigate to the "Interfaces" tab
- Select "SSH" and enable it
2. Find Your Raspberry Pi's IP Address
Identify the IP address of your Raspberry Pi by running the following command in the terminal:
hostname -I
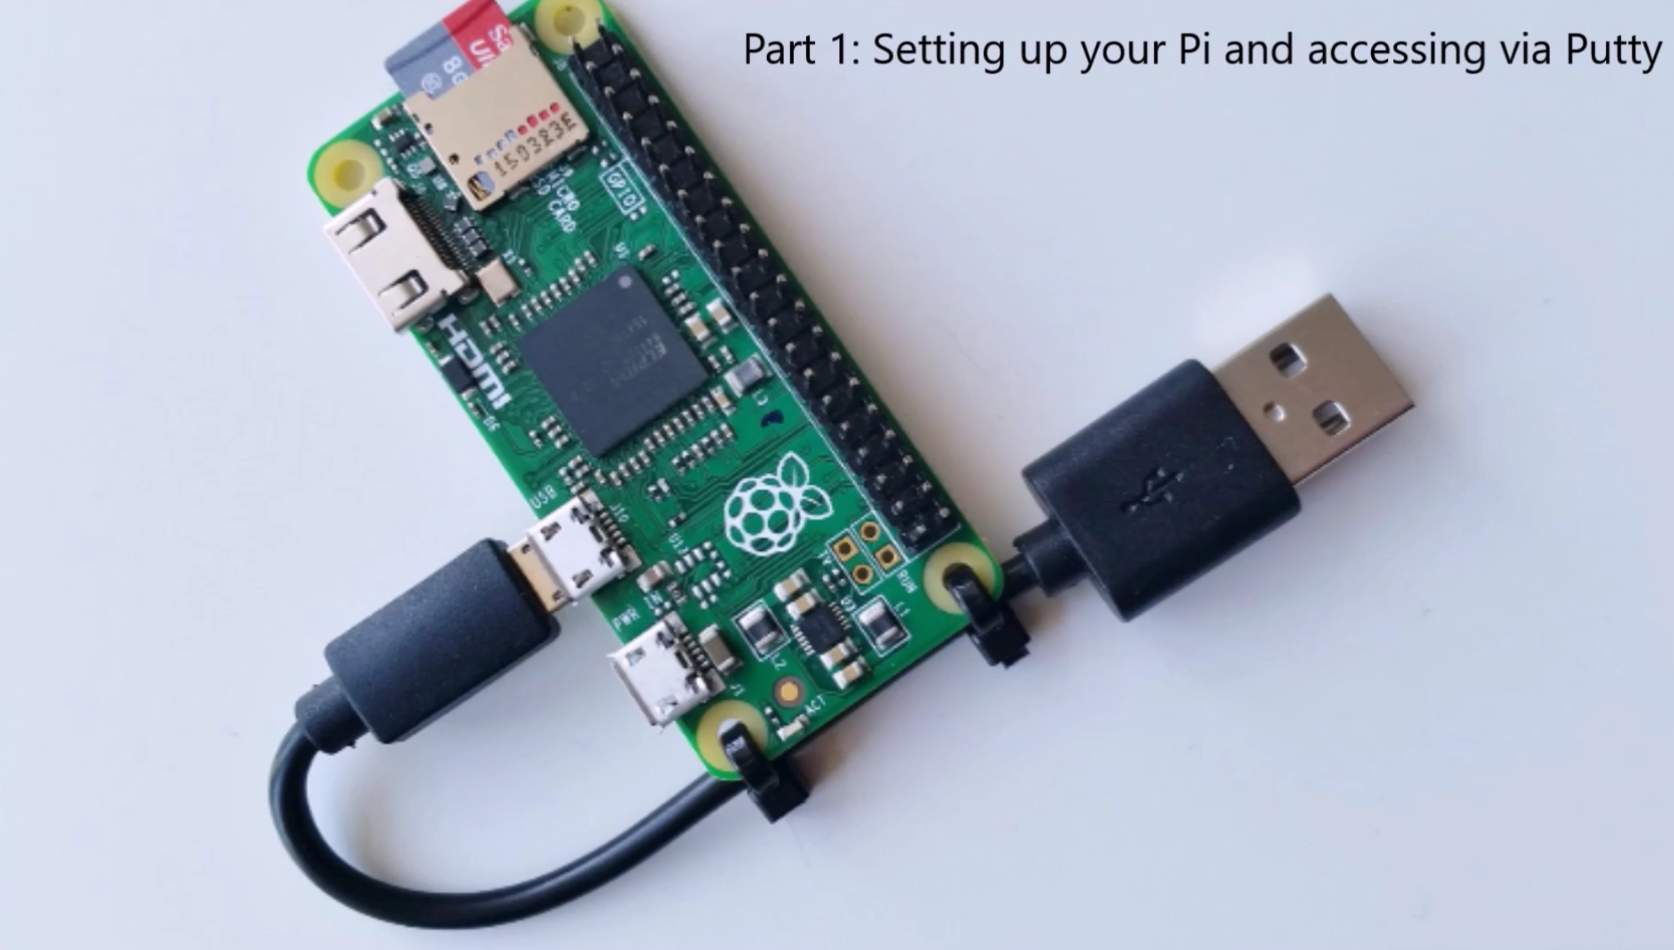
3. Install an SSH Client on Windows 10
Windows 10 includes a built-in SSH client. Alternatively, you can use third-party tools like PuTTY for enhanced functionality.
4. Connect to Raspberry Pi via SSH
Open the Command Prompt or PowerShell and type:
ssh pi@
Using SSH for Remote Access
SSH (Secure Shell) is a secure protocol that allows encrypted communication between two devices. It is widely used for remote access due to its robust security features.
Advantages of Using SSH:
- Encrypted data transfer
- Supports multiple authentication methods
- Lightweight and efficient
When using SSH for remote access, ensure that your Raspberry Pi is configured correctly and that firewall settings allow incoming connections on port 22.
Setting Up Port Forwarding
Port forwarding is a crucial step in accessing Raspberry Pi from outside your local network. It allows incoming traffic from the internet to reach your Raspberry Pi by redirecting specific ports.
Steps to Set Up Port Forwarding:
- Access your router's admin interface
- Locate the "Port Forwarding" or "Virtual Servers" section
- Add a new rule, specifying the Raspberry Pi's IP address and port number (22 for SSH)
After setting up port forwarding, test the connection using an external IP address or dynamic DNS service.
Using VPN for Security
While SSH provides a secure connection, adding a layer of security through a Virtual Private Network (VPN) can further enhance protection. A VPN encrypts all traffic between your Windows 10 device and Raspberry Pi, making it nearly impossible for unauthorized access.
Popular VPN Services for Raspberry Pi:
- OpenVPN
- WireGuard
- ProtonVPN
Configuring a VPN requires additional setup but offers significant security benefits, especially when accessing Raspberry Pi from public networks.
Troubleshooting Common Issues
Despite following the steps carefully, you may encounter issues when setting up remote access. Below are some common problems and their solutions:
1. Unable to Connect via SSH
Check the following:
- Ensure SSH is enabled on Raspberry Pi
- Verify the IP address and port number
- Check firewall settings on both devices
2. Port Forwarding Not Working
Ensure that:
- Your router supports port forwarding
- The correct port is specified in the forwarding rule
- Dynamic DNS is configured if your IP address changes frequently
Refer to your router's documentation for specific instructions.
Best Practices for Security
Security is paramount when setting up remote access to Raspberry Pi. Follow these best practices to protect your system from unauthorized access:
- Change the default password for the "pi" user
- Enable two-factor authentication (2FA) if possible
- Regularly update the operating system and installed packages
- Limit SSH access to specific IP addresses using firewall rules
By implementing these measures, you can significantly reduce the risk of security breaches.
Conclusion and Next Steps
In this comprehensive guide, we have explored various methods to access Raspberry Pi from anywhere using Windows 10. From enabling SSH to setting up port forwarding and securing your connection with a VPN, each step is designed to ensure a seamless and secure remote experience.
Key Takeaways:
- SSH is a reliable and secure method for remote access
- Port forwarding enables access from outside your local network
- Adding a VPN layer enhances security
We encourage you to share your experience in the comments section and explore other articles on our site for more tips and tricks. Stay connected and keep enhancing your Raspberry Pi skills!