Remote access to your Raspberry Pi from anywhere on Windows 10 is a powerful way to manage your projects, servers, and applications without physical limitations. Whether you're a hobbyist or a professional developer, this capability offers flexibility and convenience. By setting up remote access, you can control your Raspberry Pi from any location as long as you have an internet connection.
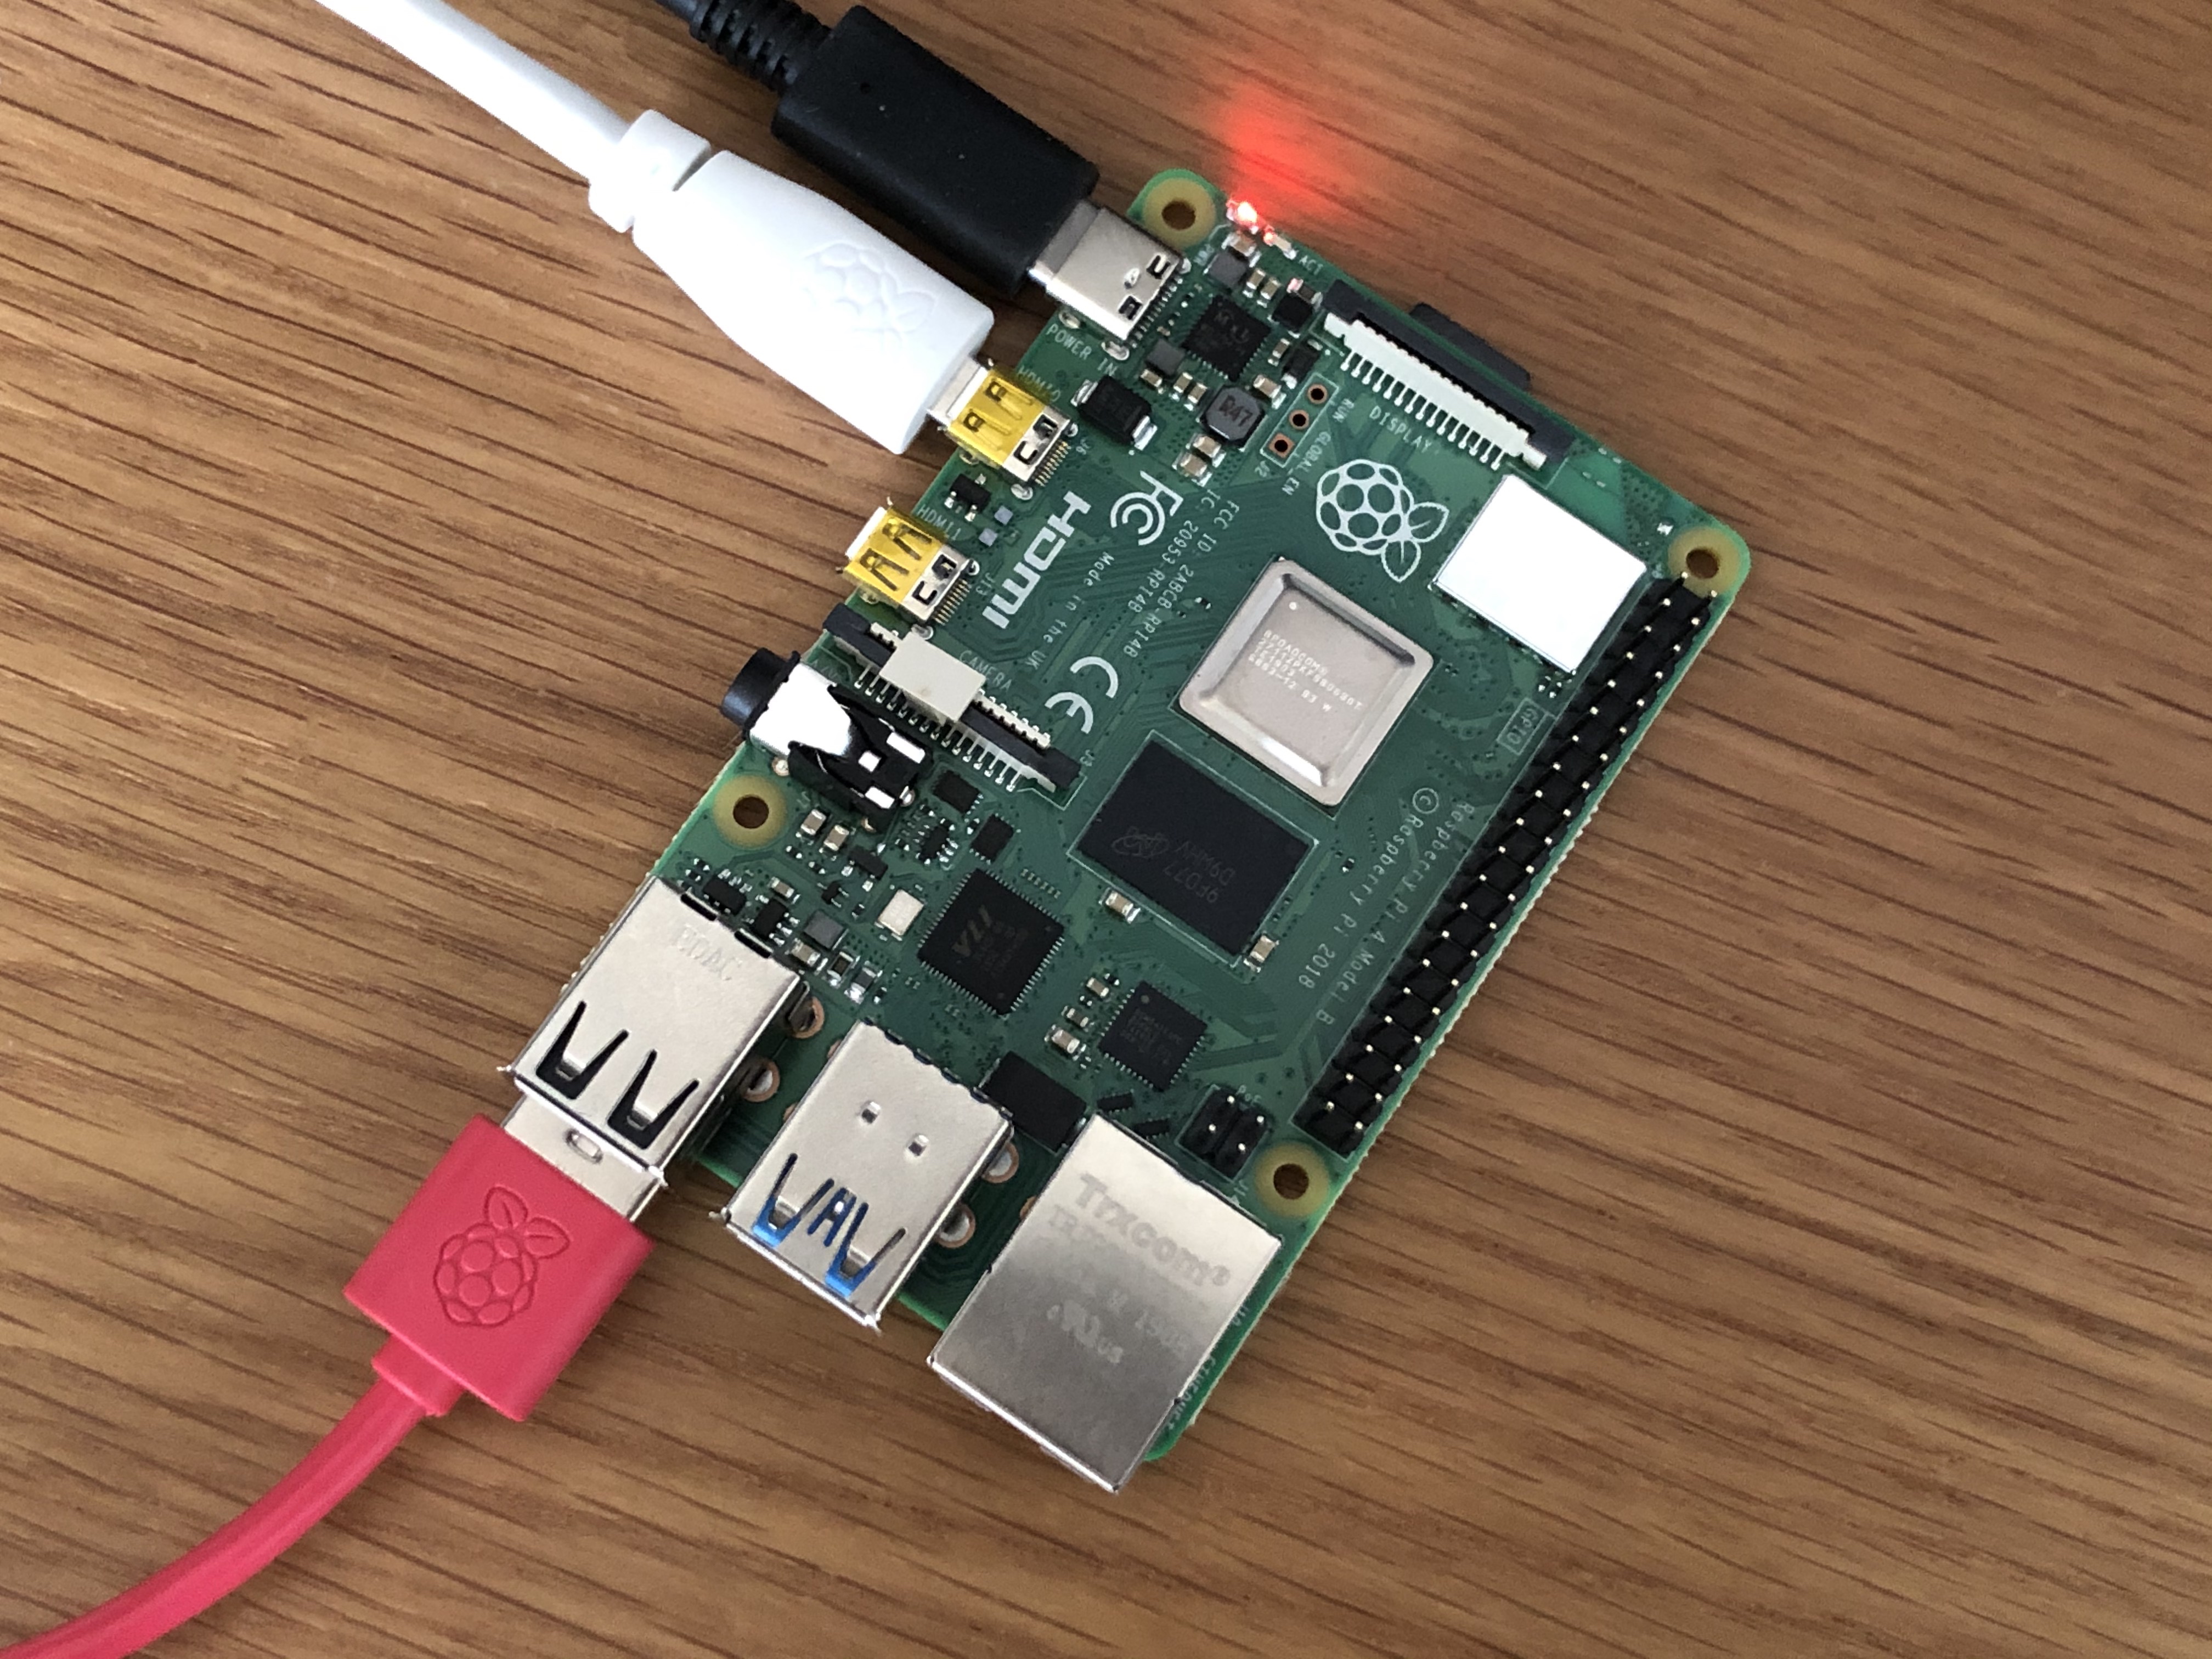
For those unfamiliar with Raspberry Pi, it is a small, affordable computer that can be used for a wide range of projects, from home automation to web servers. Remote access is one of its most valuable features, allowing users to manage their devices without being physically present. With the right setup, you can access your Raspberry Pi from anywhere in the world using Windows 10.
In this article, we will explore the process of setting up remote access for your Raspberry Pi, troubleshooting common issues, and ensuring secure connections. This guide is designed to be beginner-friendly while offering advanced tips for experienced users. Let's dive in!
Read also:Cast Of Bruce Almighty A Closer Look At The Iconic Characters And Their Impact
Table of Contents
- Introduction to Raspberry Pi Remote Access
- Setting Up Your Raspberry Pi for Remote Access
- Software Options for Remote Access
- Securing Your Raspberry Pi Remote Connection
- Troubleshooting Common Issues
- Understanding Network Configuration
- Optimizing Performance for Remote Access
- Automating Your Remote Access Setup
- Best Practices for Managing Remote Access
- The Future of Raspberry Pi Remote Access
Introduction to Raspberry Pi Remote Access
Remote access to Raspberry Pi has become increasingly popular due to its versatility and ease of use. By enabling remote access, users can control their devices from any location, making it ideal for managing home servers, IoT devices, or even personal projects. This section will provide an overview of the benefits and challenges of remote access.
One of the primary advantages of remote access is the ability to manage your Raspberry Pi without being physically present. For example, if you're running a web server on your Raspberry Pi, you can monitor and update it from anywhere in the world. However, there are challenges such as security risks and network configurations that need to be addressed.
Why Use Raspberry Pi for Remote Access?
- Cost-effective solution for managing remote devices
- Highly customizable and versatile
- Supports a wide range of applications and services
Setting Up Your Raspberry Pi for Remote Access
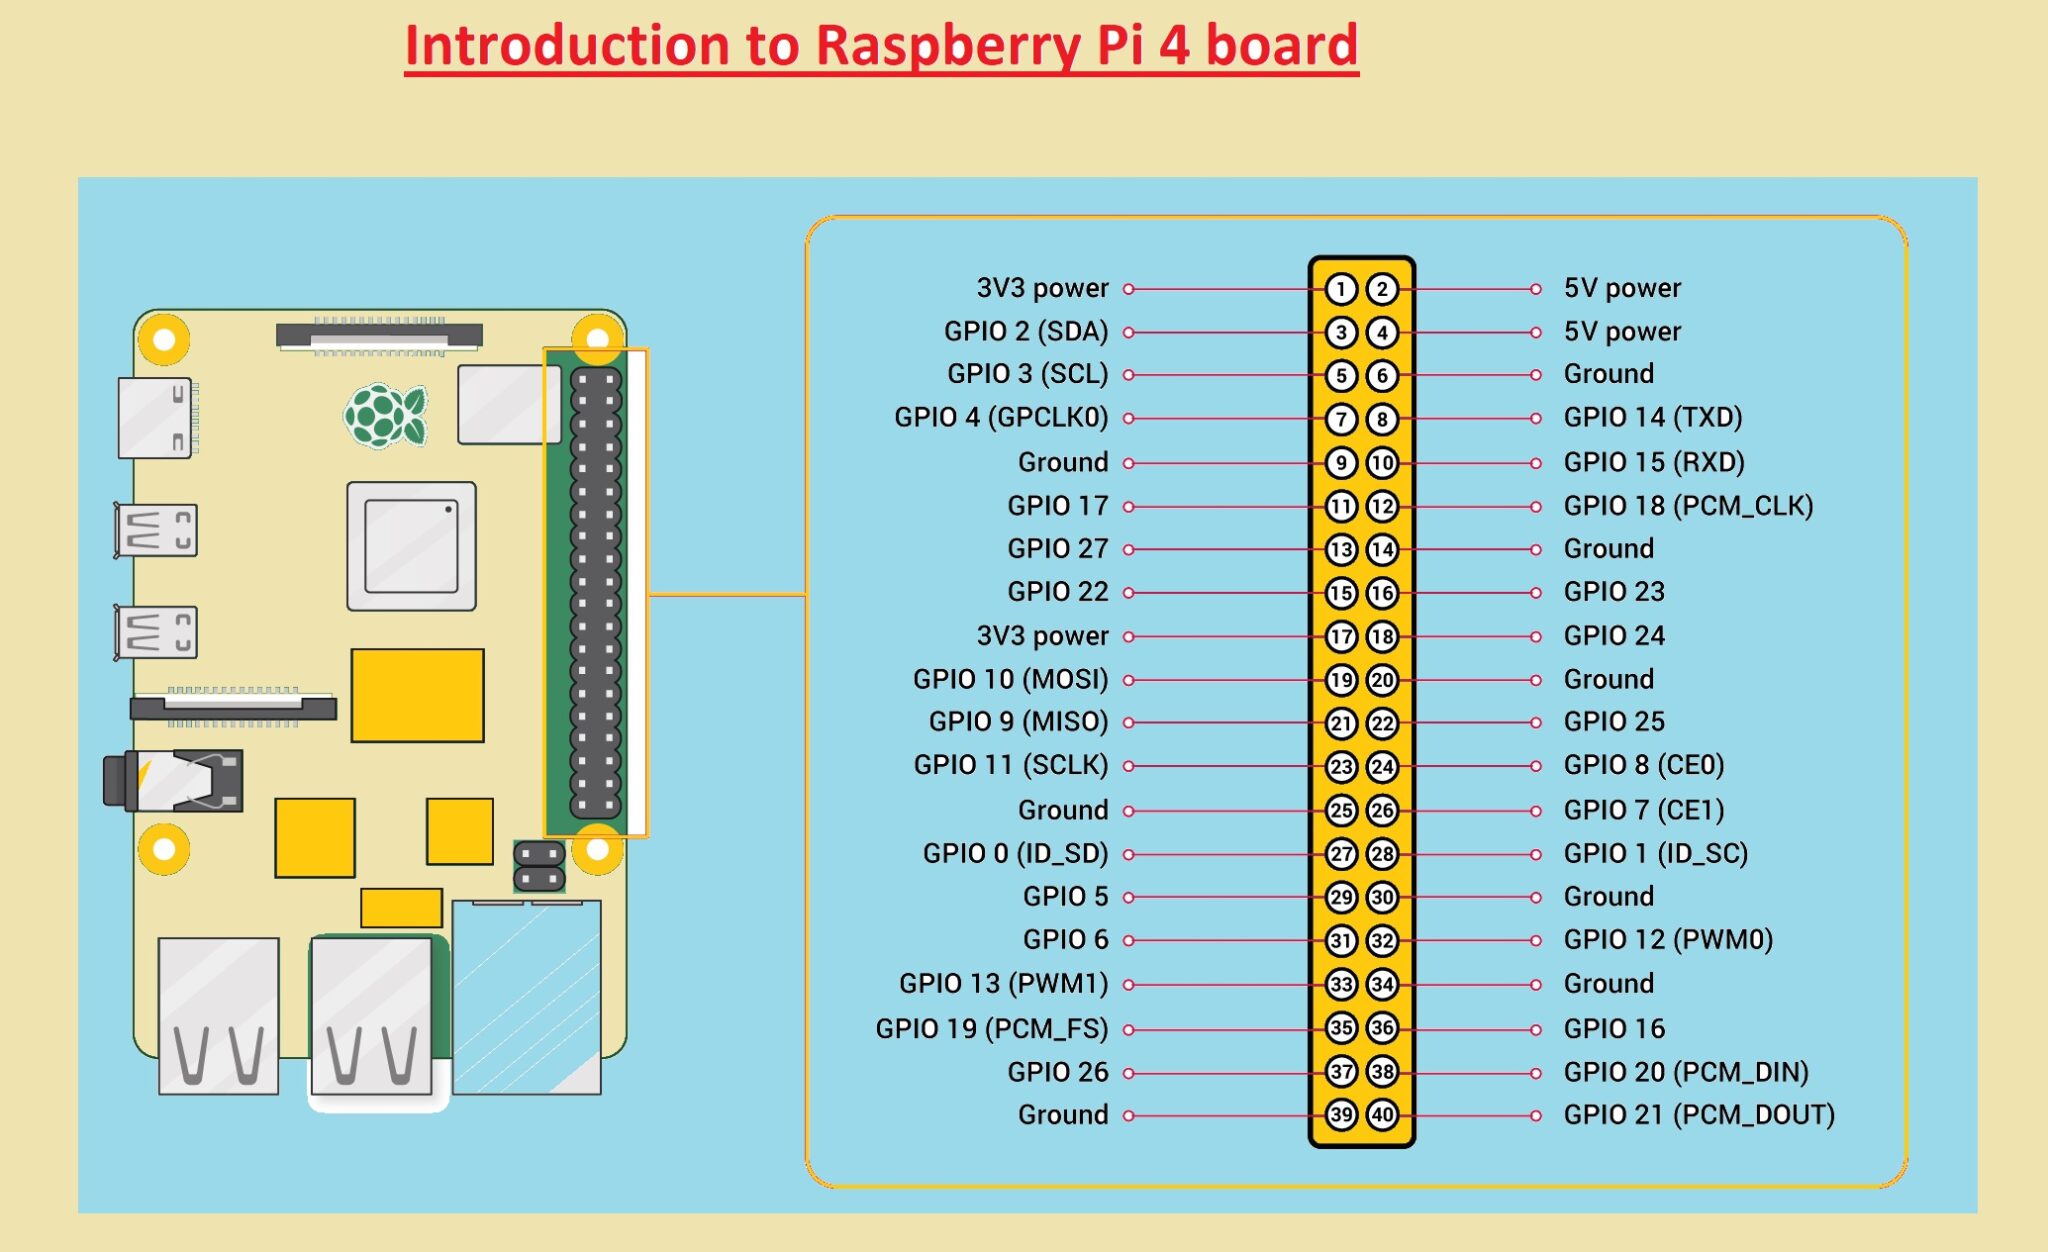
Before you can access your Raspberry Pi remotely, you need to configure it properly. This involves setting up a static IP address, enabling SSH, and ensuring your network is configured correctly. Follow these steps to get started:
Step 1: Configure Static IP Address
A static IP address ensures that your Raspberry Pi always has the same address on your network, making it easier to connect remotely. To set up a static IP:
- Log in to your Raspberry Pi
- Edit the DHCP configuration file
- Assign a static IP address to your device
Step 2: Enable SSH
SSH (Secure Shell) is the primary method for remote access on Raspberry Pi. To enable SSH:
- Open the Raspberry Pi Configuration tool
- Go to the Interfaces tab
- Enable SSH
Software Options for Remote Access
There are several software options available for remote access to Raspberry Pi. The most common methods include SSH, VNC, and third-party tools like TeamViewer. Each option has its own advantages and disadvantages.
Read also:Discover Mission Ridge Ski Resort Your Ultimate Winter Destination
Using SSH for Remote Access
SSH is the most secure and widely used method for remote access. It allows you to connect to your Raspberry Pi via a terminal interface. To use SSH:
- Install an SSH client on your Windows 10 machine
- Connect to your Raspberry Pi using its IP address
- Enter your login credentials
Using VNC for Remote Access
VNC (Virtual Network Computing) allows you to access the graphical interface of your Raspberry Pi. This is useful if you need to interact with applications that require a GUI. To set up VNC:
- Install the VNC server on your Raspberry Pi
- Install the VNC client on your Windows 10 machine
- Connect to your Raspberry Pi using its IP address
Securing Your Raspberry Pi Remote Connection
Security is a critical aspect of remote access. Without proper security measures, your Raspberry Pi could be vulnerable to unauthorized access. Follow these tips to secure your remote connection:
Change Default Credentials
Always change the default username and password on your Raspberry Pi. Use strong, unique passwords to protect your device from unauthorized access.
Enable Firewall
A firewall can help protect your Raspberry Pi from malicious attacks. Use tools like UFW (Uncomplicated Firewall) to configure your firewall settings.
Troubleshooting Common Issues
Even with proper setup, you may encounter issues when accessing your Raspberry Pi remotely. Here are some common problems and their solutions:
Connection Issues
If you're unable to connect to your Raspberry Pi, check the following:
- Ensure your Raspberry Pi is connected to the internet
- Verify your IP address and port settings
- Check your firewall settings
Slow Performance
Slow performance can be caused by network congestion or insufficient resources. To improve performance:
- Optimize your network settings
- Upgrade your hardware if necessary
- Close unnecessary applications
Understanding Network Configuration
Network configuration plays a crucial role in remote access. Understanding how your network is set up can help you troubleshoot issues and optimize performance. Here are some key concepts:
Router Settings
Your router manages the connection between your Raspberry Pi and the internet. Configure your router to forward traffic to your Raspberry Pi's IP address.
Port Forwarding
Port forwarding allows you to direct incoming traffic to specific devices on your network. Use port forwarding to access your Raspberry Pi from outside your local network.
Optimizing Performance for Remote Access
Optimizing performance is essential for a smooth remote access experience. Here are some tips to improve performance:
Upgrade Hardware
If your Raspberry Pi is struggling to handle remote access, consider upgrading to a more powerful model. The Raspberry Pi 4, for example, offers better performance than earlier models.
Use Compression
Enable compression in your SSH or VNC settings to reduce the amount of data transmitted over the network.
Automating Your Remote Access Setup
Automation can save time and reduce the risk of errors. Use scripts and tools to automate your remote access setup. For example, you can create a script to automatically update your Raspberry Pi's software and security settings.
Using Cron Jobs
Cron jobs allow you to schedule tasks on your Raspberry Pi. Use cron jobs to automate routine tasks such as backups and updates.
Best Practices for Managing Remote Access
Following best practices can help you manage remote access more effectively. Here are some tips:
Regularly Update Software
Keep your Raspberry Pi's software up to date to ensure security and stability. Use the package manager to update your system regularly.
Monitor Logs
Monitor system logs to detect and address issues early. Use tools like Logwatch to analyze log files.
The Future of Raspberry Pi Remote Access
The future of Raspberry Pi remote access looks promising. Advances in technology and increased demand for remote solutions are driving innovation in this field. Expect to see improvements in security, performance, and ease of use in the years to come.
Emerging Technologies
New technologies such as 5G and edge computing are set to revolutionize remote access. These technologies offer faster speeds and lower latency, making remote access more reliable and efficient.
Conclusion
Remote access to your Raspberry Pi from anywhere on Windows 10 is a powerful tool that offers flexibility and convenience. By following the steps outlined in this article, you can set up secure and efficient remote access for your Raspberry Pi. Remember to prioritize security, optimize performance, and stay up to date with the latest developments in this field.
We encourage you to share your experiences and tips in the comments section below. If you found this article helpful, please consider sharing it with others. For more information on Raspberry Pi and related topics, explore our other articles on the site.
References: