Accessing your Raspberry Pi remotely over the internet has never been more important, especially as remote work and IoT projects continue to grow in popularity. Whether you're a hobbyist or a professional, mastering this skill can significantly enhance your productivity and project capabilities. By learning how to access Raspberry Pi remotely, you gain the flexibility to manage your devices from anywhere in the world.
Remote access to Raspberry Pi opens up countless possibilities. Imagine being able to troubleshoot your home automation system while traveling or accessing your server setup from the comfort of your office. This article will walk you through the process step-by-step, ensuring you can confidently set up and maintain secure remote access.
As we dive deeper, we'll explore various methods, tools, and best practices to ensure your setup is both functional and secure. Remember, security is paramount when exposing your Raspberry Pi to the internet, and we'll address that in detail. Let's get started!
Read also:Tyler The Creator And Morgan Freeman Exploring The Creative Intersection Of Two Icons
Table of Contents
- Introduction to Raspberry Pi
- Why Remote Access Is Important
- Preparing Your Raspberry Pi
- Method 1: Port Forwarding
- Method 2: Using Ngrok
- Method 3: Using Tailscale
- Securing Your Remote Access
- Troubleshooting Common Issues
- Best Practices for Remote Access
- Conclusion and Next Steps
Introduction to Raspberry Pi
The Raspberry Pi is a versatile, credit-card-sized computer that has revolutionized how people interact with technology. Originally designed as an educational tool, it has since become a favorite among hobbyists, developers, and professionals for its affordability and flexibility. One of the key features that make Raspberry Pi so appealing is its ability to connect to the internet and function as a server or automation hub.
What Makes Raspberry Pi Unique?
- Low cost and compact design
- Wide range of supported operating systems
- Extensive community support
- Compatibility with numerous hardware peripherals
Understanding the basics of Raspberry Pi is essential before diving into remote access. This knowledge will help you troubleshoot issues and optimize your setup for seamless remote connectivity.
Why Remote Access Is Important
In today's interconnected world, remote access to Raspberry Pi is becoming increasingly critical. Whether you're managing a home automation system, running a web server, or developing IoT applications, being able to access your device from anywhere provides unparalleled convenience and efficiency.
Key Benefits of Remote Access
- Access your projects from any location
- Monitor and troubleshoot systems in real-time
- Enhance collaboration with team members
- Reduce downtime by addressing issues remotely
With remote access, you can maintain control over your Raspberry Pi without needing physical access to the device. However, it's crucial to approach this with security in mind, as exposing your device to the internet comes with inherent risks.
Preparing Your Raspberry Pi
Before setting up remote access, you need to ensure your Raspberry Pi is properly configured. This includes installing the necessary software, updating your system, and setting up a static IP address. Proper preparation will lay the foundation for a stable and secure remote connection.
Steps to Prepare Your Raspberry Pi
- Install the latest version of Raspberry Pi OS
- Enable SSH (Secure Shell) for remote communication
- Set a static IP address for consistent connectivity
- Update your system to the latest version using
sudo apt update && sudo apt upgrade
Once your Raspberry Pi is ready, you can proceed to choose a method for remote access. Each method has its own advantages and considerations, so selecting the right one depends on your specific needs and preferences.
Read also:Discover The Best Deals At Kia Of Cleveland Tn Your Ultimate Car Buying Guide
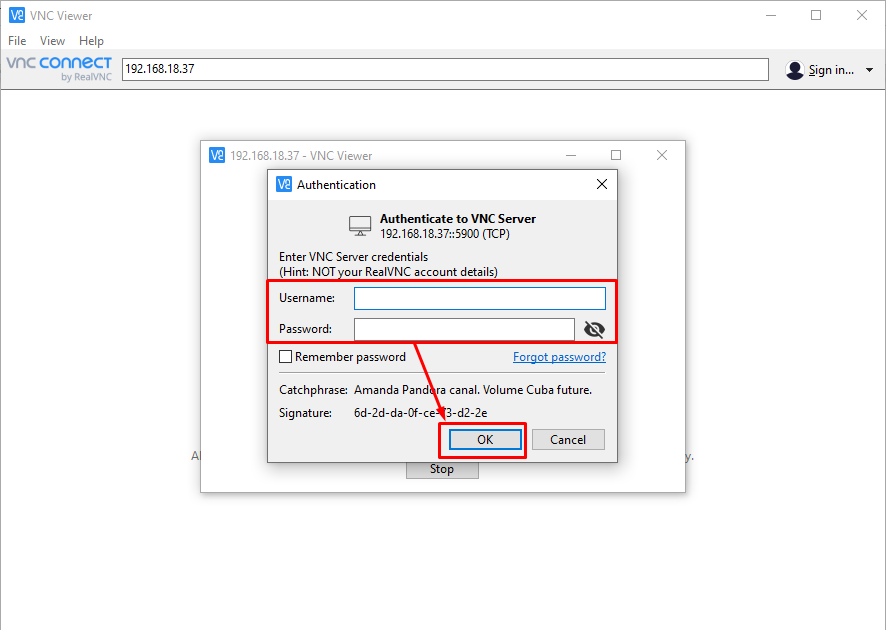
Method 1: Port Forwarding
Port forwarding is one of the most straightforward ways to access Raspberry Pi remotely over the internet. By configuring your router to forward specific ports to your Raspberry Pi, you can establish a direct connection from outside your local network.
Steps to Set Up Port Forwarding
- Log in to your router's admin interface
- Locate the port forwarding or virtual server settings
- Assign a specific port (e.g., 22 for SSH) to your Raspberry Pi's static IP address
- Test the connection using your public IP address and the assigned port
While port forwarding is effective, it requires some technical knowledge and can expose your network to potential security risks if not properly secured. Always use strong passwords and consider additional security measures like firewall rules.
Method 2: Using Ngrok
Ngrok is a popular tool that simplifies the process of exposing local servers to the internet. It creates a secure tunnel between your Raspberry Pi and the internet, allowing you to access your device without modifying your router settings.
Advantages of Using Ngrok
- No router configuration required
- Easy setup and deployment
- Supports both HTTP and SSH protocols
To use Ngrok, you'll need to download the software, install it on your Raspberry Pi, and run the appropriate command to start the tunnel. Ngrok offers both free and paid plans, with the paid version providing additional features like custom domains and reserved URLs.
Method 3: Using Tailscale
Tailscale is another powerful tool for remote access that focuses on simplicity and security. It uses WireGuard under the hood to create a secure mesh network, allowing you to access your Raspberry Pi as if it were on the same local network.
Why Choose Tailscale?
- Zero-configuration setup
- End-to-end encryption
- Works seamlessly across multiple devices and platforms
With Tailscale, you can connect to your Raspberry Pi without worrying about firewall rules or port forwarding. Simply install the Tailscale client on your device and join the network. Tailscale also offers a free tier for personal use, making it an attractive option for hobbyists.
Securing Your Remote Access
Security should always be a top priority when accessing Raspberry Pi remotely over the internet. Exposing your device to the internet can make it vulnerable to attacks, so it's essential to implement robust security measures.
Best Security Practices
- Use strong, unique passwords for SSH and other services
- Enable two-factor authentication (2FA) whenever possible
- Regularly update your Raspberry Pi's software and firmware
- Limit SSH access to specific IP addresses using firewall rules
- Consider using a VPN for additional protection
By following these practices, you can significantly reduce the risk of unauthorized access and ensure your Raspberry Pi remains secure.
Troubleshooting Common Issues
Despite careful preparation, you may encounter issues when setting up remote access to your Raspberry Pi. Here are some common problems and their solutions:
Issue 1: Unable to Connect via SSH
Ensure that SSH is enabled on your Raspberry Pi and that your router is correctly configured for port forwarding. Check your public IP address and verify that it matches the one you're using to connect.
Issue 2: Ngrok Tunnel Not Working
Make sure Ngrok is properly installed and that you're running the correct command. If you're using the free version, note that the URL may change each time you restart the tunnel.
Issue 3: Tailscale Connection Problems
Verify that both devices are connected to the same Tailscale network and that there are no firewall rules blocking the connection. Restart the Tailscale service if necessary.
Best Practices for Remote Access
Adopting best practices for remote access can enhance both the functionality and security of your Raspberry Pi setup. Here are some tips to keep in mind:
1. Document Your Configuration
Keep detailed notes of your setup, including IP addresses, port numbers, and any custom configurations. This will make troubleshooting easier in the future.
2. Regularly Backup Your Data
Ensure that important files and configurations are backed up regularly to prevent data loss in case of hardware failure or other issues.
3. Stay Informed About Security Updates
Subscribe to security newsletters and forums to stay updated on the latest threats and vulnerabilities. Apply patches and updates promptly to protect your device.
Conclusion and Next Steps
Accessing your Raspberry Pi remotely over the internet is a valuable skill that can enhance your projects and streamline your workflow. By following the methods and best practices outlined in this article, you can set up a secure and reliable remote connection that meets your needs.
To further expand your knowledge, consider exploring advanced topics such as setting up a web server, automating tasks with scripts, or integrating your Raspberry Pi with cloud services. The possibilities are endless, and with the right tools and techniques, you can unlock the full potential of your device.
We invite you to share your experience or ask questions in the comments section below. Don't forget to explore our other articles for more tips and tutorials on Raspberry Pi and related technologies. Happy tinkering!